

If you are planning ahead, you may want to create Facebook posts ahead of time. There is a way to schedule posts on Facebook so they appear at a later date. Watch this tutorial video to learn how to schedule posts on Facebook! Use this tool to schedule posts when you’ll be out of the office, when you are planning your social media calendar, or when your business is hosting an event in the future.
Video Transcript:
You can schedule updates to appear on your page at a later date and time. This is really useful if you are planning ahead.
After you create your post, click the blue arrow next to the “Publish” button. Select schedule from the menu.
Chose the date and time when you want your post to be published. Then press “Schedule.” You will now see on your page that you have scheduled a post. When the date and time you entered comes, the post will be published automatically for you.
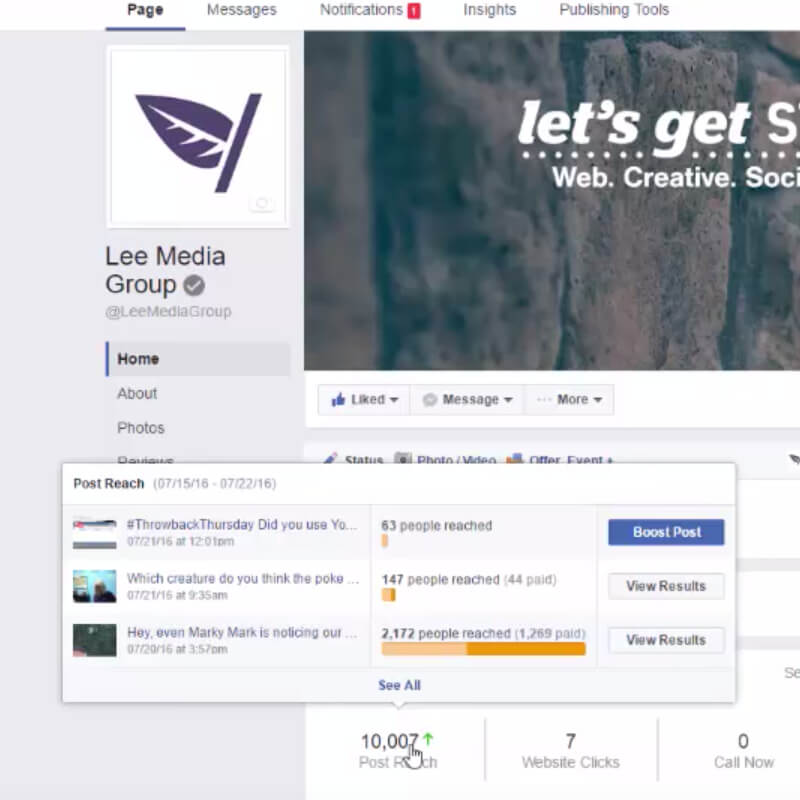
To view your scheduled posts, return to your business page. At the top, you will see a notice alerting you if you have a scheduled post. Click “See post.”
You can also click on the “Publishing Tools” link on the top white menu. On the sidebar, under Posts, you should see a link labeled “Scheduled Posts.”
Just like drafts, you can preview and edit a scheduled post before it publishes.
Still confused? Don’t be afraid to contact us with any questions you might have!
Leave a Reply