

Welcome Rose Hill chamber member! As a membership benefit, you’ve been given a free online profile on our website! Having a web presence is essential in today’s digital world, and we want you to take advantage of your spot online. Your profile is often the first thing to pop up on online search engines, so filling it out completely is very important. While the process may seem daunting at first, this tutorial video will explain every step.
Video Transcript:
Welcome
Welcome Rose Hill Chamber member! As a membership benefit, you’ve been given a free online profile on our website! Your chamber profile is often the first thing to pop up on online search engines, so it’s more than worth your time to fill out your profile completely. This video will walk you through the steps of setting up and updating your personal profile on the chamber website. We want you to take full advantage of this unique opportunity! Feel free to pause this video at any time to complete the steps.Logging In
The first step is to log on to the chamber website. You can find the website at rosehillchamber.org. On the top right-hand corner of the page, you’ll see a “Login” button. This will take you to the login page. Enter the username associated with your chamber membership and your password. If you’ve forgotten your password, click the “Lost Password” link to be emailed a new password. Once you’ve logged in, you’ll be taken to your dashboard. This is the page where you can edit your business profile. To get back to this page at any time, click on the “Dashboard” button at the top of the screen.View Your Profile
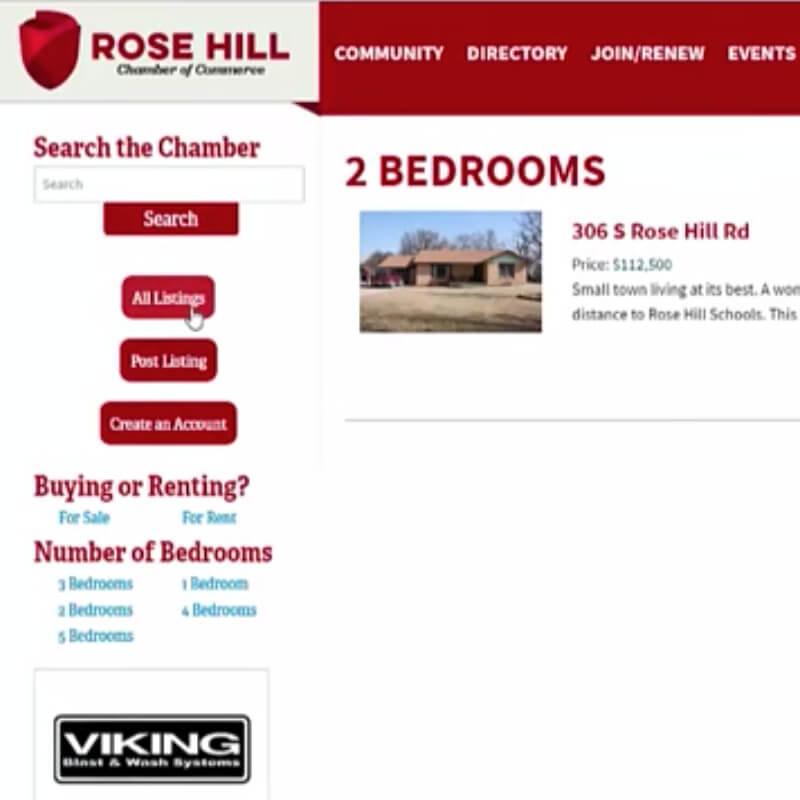
If at any point during the process you want to see how your profile appears to customers, click the “View Profile” link. As always, if you’d like to go back and edit something, click the “Dashboard” button at the top.Account Settings
Alright, let’s get started! Click on the “Account settings” link on the side. This is where you can manage your account. You have a username, which is what you’ll use to log on. Here you can enter a first and last name if you’d like to connect your account to a person. You can also check the email associated with your account. Finally, you can change your password on this page. If you make any changes, be sure to click the “Update Profile” button to save them.Business Information
Alright, let’s look at business information! This is the most important link in your profile. It lets you edit the “About” section, which is the first thing customers see when they click on your profile. First, make sure your company name is listed correctly. Next, type in your mission or brand statement, if you have one, and a picture of your logo. Then fill out the “About your Company” section. This is a great place to talk about what your company is all about and why customers should buy your products or services. Be sure to look over what you’ve written to make sure there aren’t any typos.After you have that section completed, add your business’s address, phone number, and links to social media pages. You can leave any of these fields blank if they don’t apply to you. Next, you’ll want to fill in your business hours. If you have different hours for different days of the week, you can click this plus button to add another row. If you add too many rows, delete them with the minus button. Make sure you keep all this information up to date.
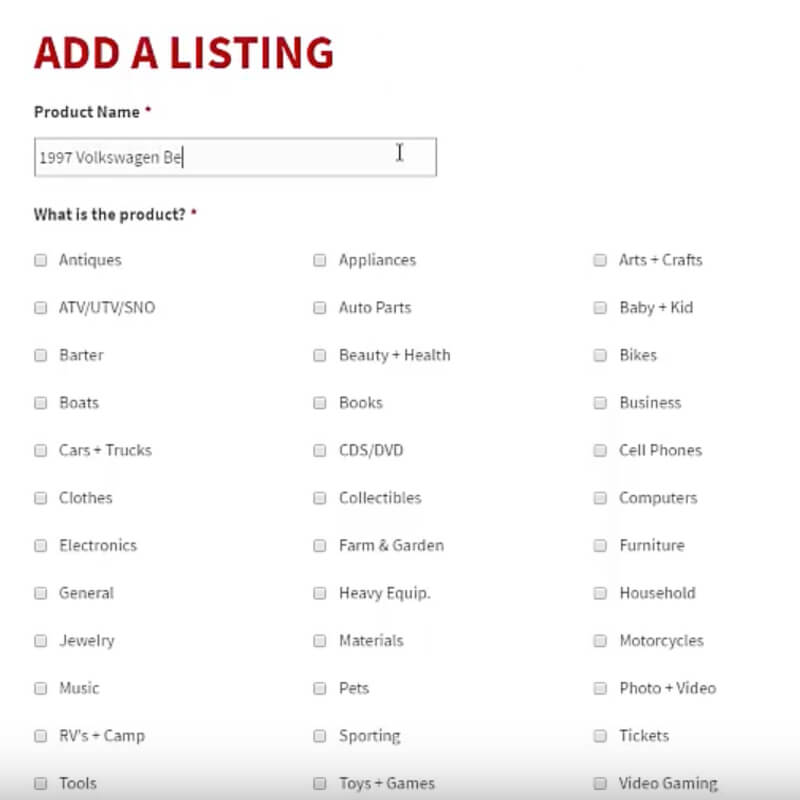
Next, select a category for your business. Businesses are listed on the website by category, so it’s important to pick the correct one.
The profile tabs section will determine what pages appear on your profile. The About tab will appear by default, but you can have more tabs if you’d like. If you look at our example, we have the Services, Blog, and Team tabs selected. These appear at the top of our profile (demo). You can pick up to three, although you don’t have to add any at all. Take a moment to decide what you’d like to show on your profile.
Once you’re done, be sure to hit submit to save your changes. Now would be a great time to click on that view profile button so you can see how everything looks. Go back to the dashboard to change anything you’re not happy with.
Slideshow
You have the option of adding pictures to your profile in a slideshow. You might consider including pictures of your storefront, your team, or your products. Click on the “slideshow” link to get started. To add a picture, click the “Add New” button. Here, you can upload your picture and give it a title, if you’d like. This title will appear at the bottom of the picture on your profile. You can edit or delete any of your pictures from this page.Managing Tabs
On the side, you should now see links corresponding with the tabs you selected earlier. This is where you can edit those pages. Here we have Services, Team, and Blog, but all the pages are set up in the same way.To add a new service, product, team member, etc, you’ll click this “add new” button. Here, you’ll have a chance to enter a name, description, and picture, if applicable.
Our example has four services listed. Here, you can see how each service will be formatted for you.
Coupons and Specials
If your business is offering coupons or specials, your chamber profile is a great place to list them. Click on the “coupons and specials” link to add them. Press the “Add New” button and fill out the information about your coupon. Be sure to keep this section updated, as you don’t want customers trying to use expired coupons.Conclusion
That’s all you need to know to create a profile for your business! This simple and powerful marketing tool is an excellent way to reach out to customers. If you have any additional questions about setting up your profile, feel free to contact Lee Media Group. Thank you for taking the time to make your business profile look great!
Still confused? Don’t be afraid to contact us with any questions you might have!

Leave a Reply